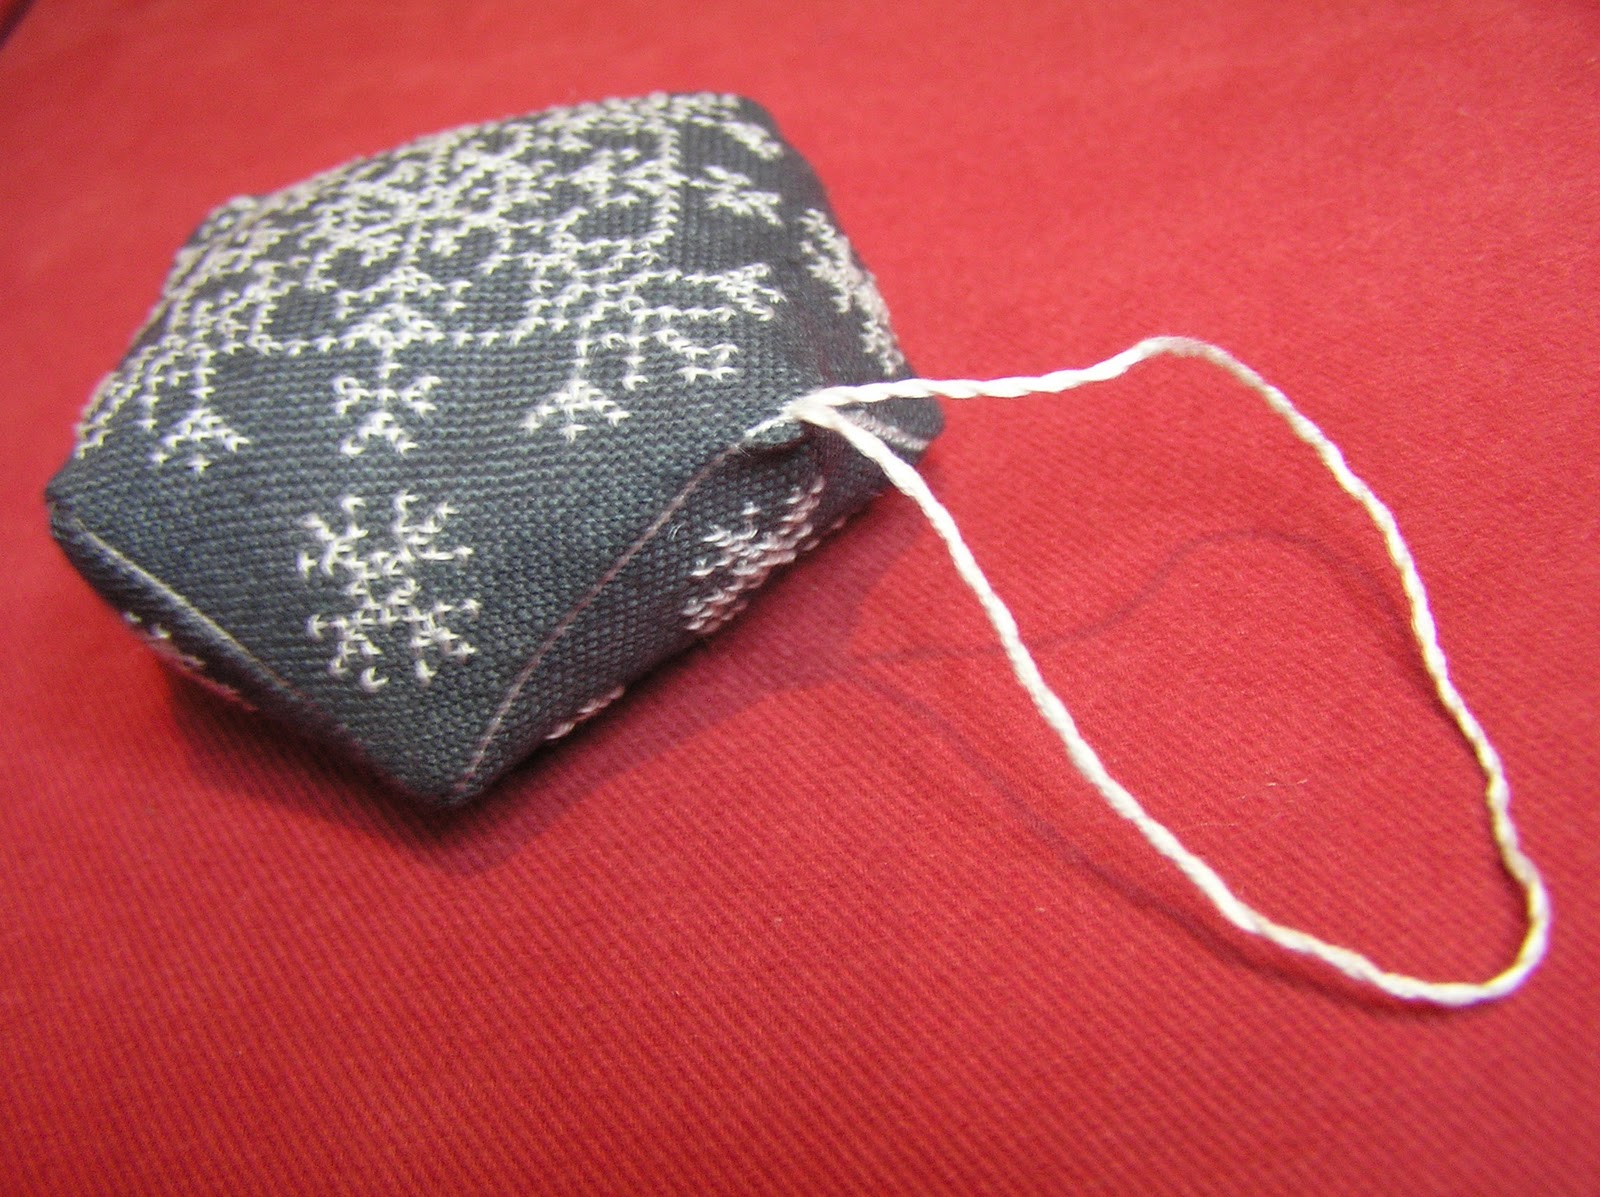
Biscornu is a French adjective that means "that which has an irregular form, with projections" or "complicated and bizarre." This Biscornu was a lot of fun to make . . . it's not complicated . . . maybe a little bizarre! Makes a great pincushion or as shown here, an ornament:
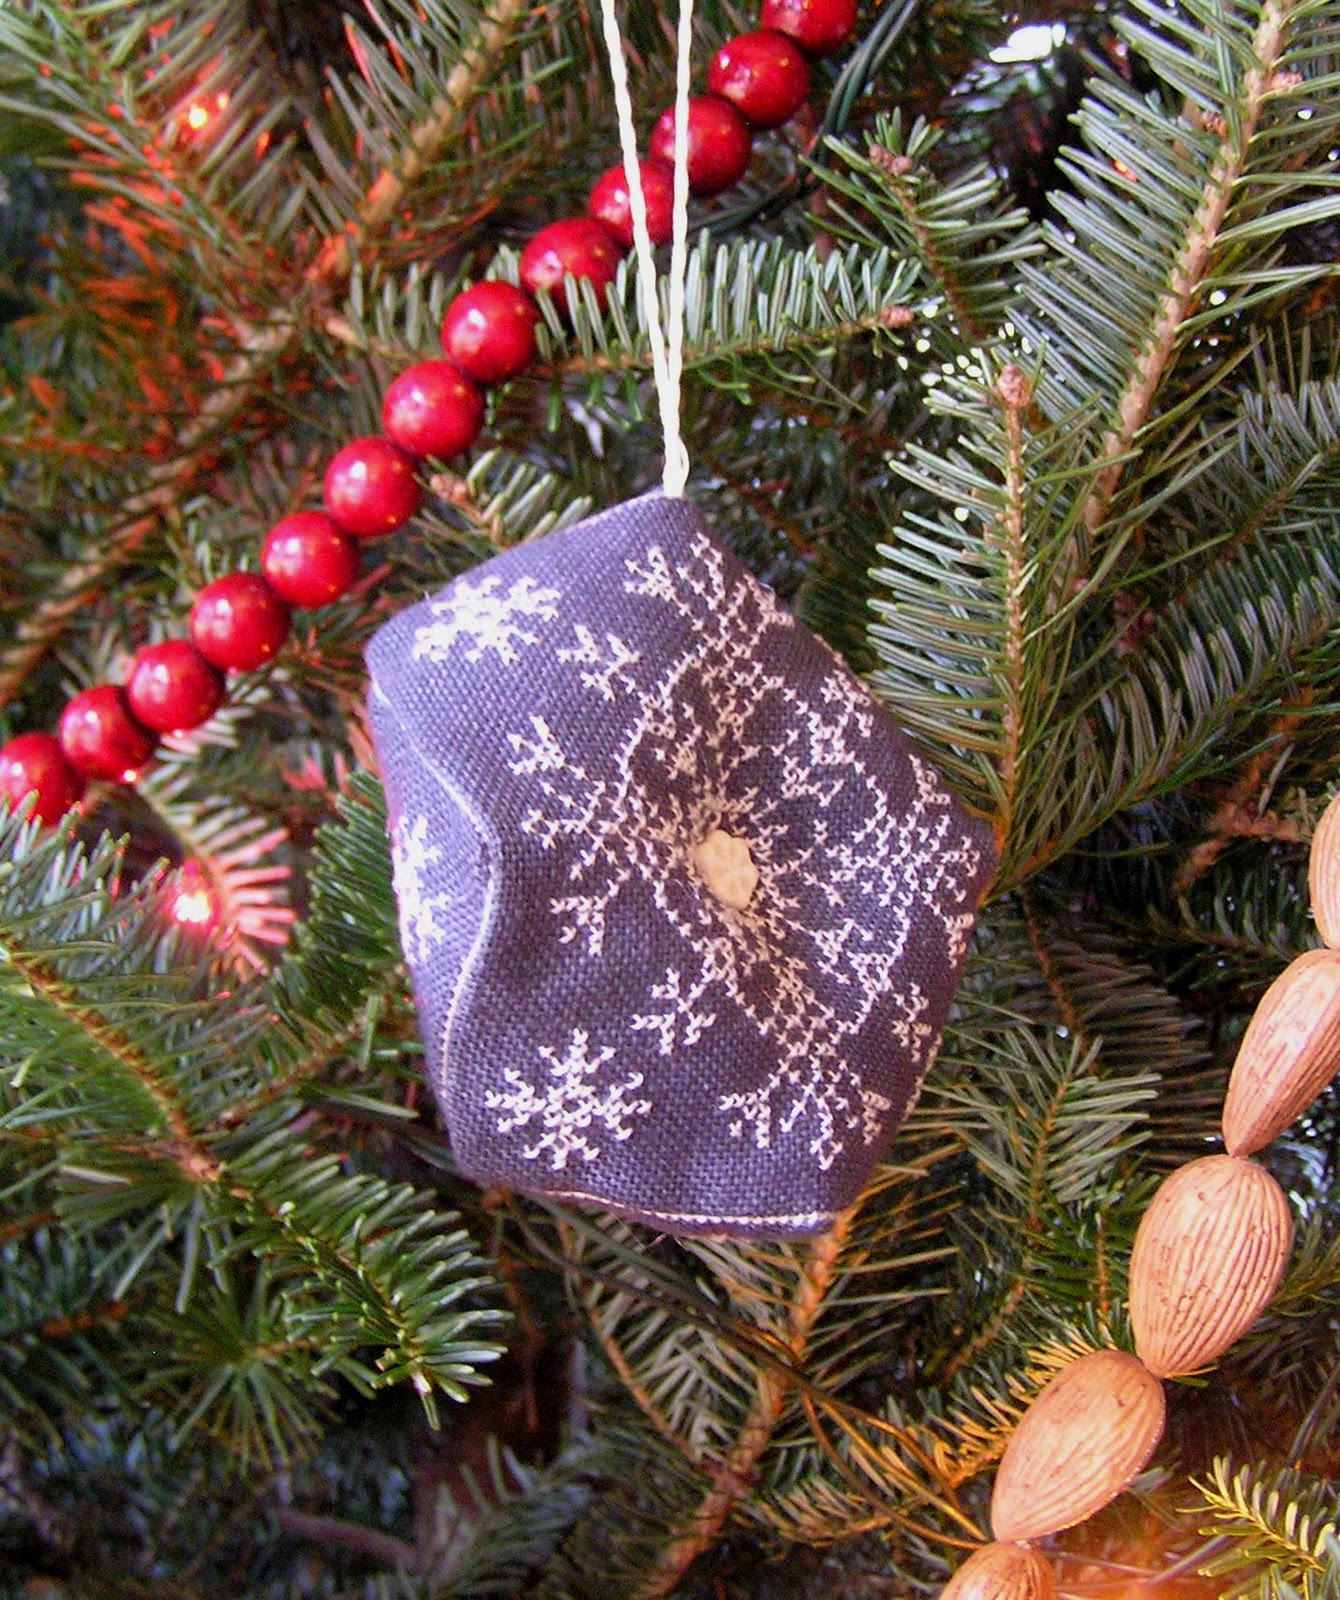
Here is the chart. You will need to make two of these. Backstitch around the outside of the designs (this is where you will stitch them together) I used Weeks Dye Works - Gun Metal Linen 30 count and stitched it with The Gentle Art (Sampler Threads) - Bluebell floss . . .one strand over two linen threads for the cross-stitch and back-stitch over two linen threads for the outline. Any dark fabric with a light thread or vice-versa would do. I used a small snowflake button from Just Another Button Company for the center of both side of the ornament.


You will begin to see the zig zag design take shape as you proceed around.


When you get near the end, begin stuffing. You will need to stuff it full enough to fill in the corners.

TIP: If you are making this into a pincushion, you don't need to stitch the larger center snowflake on the bottom piece, just the four smaller corner snowflakes . . . unless you want it to be reversible.
HAVE FUN!!! If you have any questions, please comment and I will try to help you.